
Reviewed against U.S. Department of Energy and Pacific Northwest National Laboratory resources on August 18, 2026.
Contractors working on Home Electrification and Appliance Rebates (HEAR) projects may need geotagged photos before or after installation, but the exact submission workflow is determined by the state or territory administering the program. DOE sets federal program requirements and recommendations, while each program implementer defines operational instructions, approved tools, required views, file handling, and submission steps.
Do not treat this article—or any general-purpose photo app—as approval for a rebate submission. Confirm the current requirements with the relevant state or territorial program before work begins.
What DOE guidance says about HEAR photos
DOE’s Home Energy Rebates Photo Collection Recommendations explains that geotagged photos of pre-existing equipment or conditions must be collected for HEAR appliance installations. The same document describes quality-installation evidence and notes that states may use photos as part of their oversight process.
The detailed Program Requirements and Application Instructions also discusses geotagged photos for installed rebated appliances and specific alternatives for some retailer or distributor workflows.
The important distinction is that requirements vary by program phase, product category, participant, and state implementation. A contractor should obtain the project-specific checklist rather than assume that one set of photos satisfies every HEAR workflow.
Questions to answer before visiting the site
- Which program is funding the project? Confirm HEAR versus Home Efficiency Rebates (HOMES).
- Which product or measure is involved? Required views may differ for heat pumps, water heaters, electrical panels, insulation, or other work.
- Are pre-installation photos required? Identify the existing equipment, nameplate, condition, and location views requested by the program.
- What proves quality installation? Ask for the approved photo prompts, tests, forms, and inspection steps.
- How must files be transferred? Confirm accepted formats, resolution, geotag requirements, naming rules, and upload method.
- Who reviews the submission? Record the implementer’s support contact and correction process.
Geotagging and file-transfer considerations
PNNL’s Home Energy Rebate Tools guidance explains how to enable location services on iOS and Android and warns that some transfer methods may remove geolocation metadata. It recommends preserving full-sized files and provides platform-specific ways to view stored GPS information.
PNNL’s Quality Install Tool documentation adds an important technical limitation: mobile web browsers may block a web application from reading metadata from an existing image. In that workflow, the tool records the phone’s current location and time during capture instead. Uploading an older image from another location can therefore produce incorrect context.
These limitations are why a documented capture procedure matters. Teams should test the approved workflow on the actual devices they plan to use and inspect sample submissions before scaling it across contractors.
A contractor photo workflow
1. Load the approved checklist
Keep the implementer’s required photo prompts with the project. Separate pre-installation, installation, testing, and post-installation views.
2. Confirm device settings
Enable the required location permissions and use the approved capture application or portal. Device-reported GPS accuracy varies, especially indoors or near dense structures.
3. Capture context, not just equipment
Take clear overview and detail images where requested. Include labels, serial plates, test displays, connections, and surrounding conditions only when the program checklist asks for them. Avoid including people, documents, or household details that are not necessary.
4. Preserve the original record
Do not resize, edit, rename, or transfer files through an unapproved channel before confirming how the workflow handles metadata. Keep the original project record and note any exported copies.
5. Review before submission
Check image clarity, required views, recorded location, date, project identifier, and notes. A technically valid geotag does not show that every required installation step was completed.
6. Follow the program’s correction process
If a record is missing or inaccurate, contact the implementer. Do not recreate a capture or change metadata in a way that misrepresents when or where the image was taken.
Where TimeMarkerGps may fit
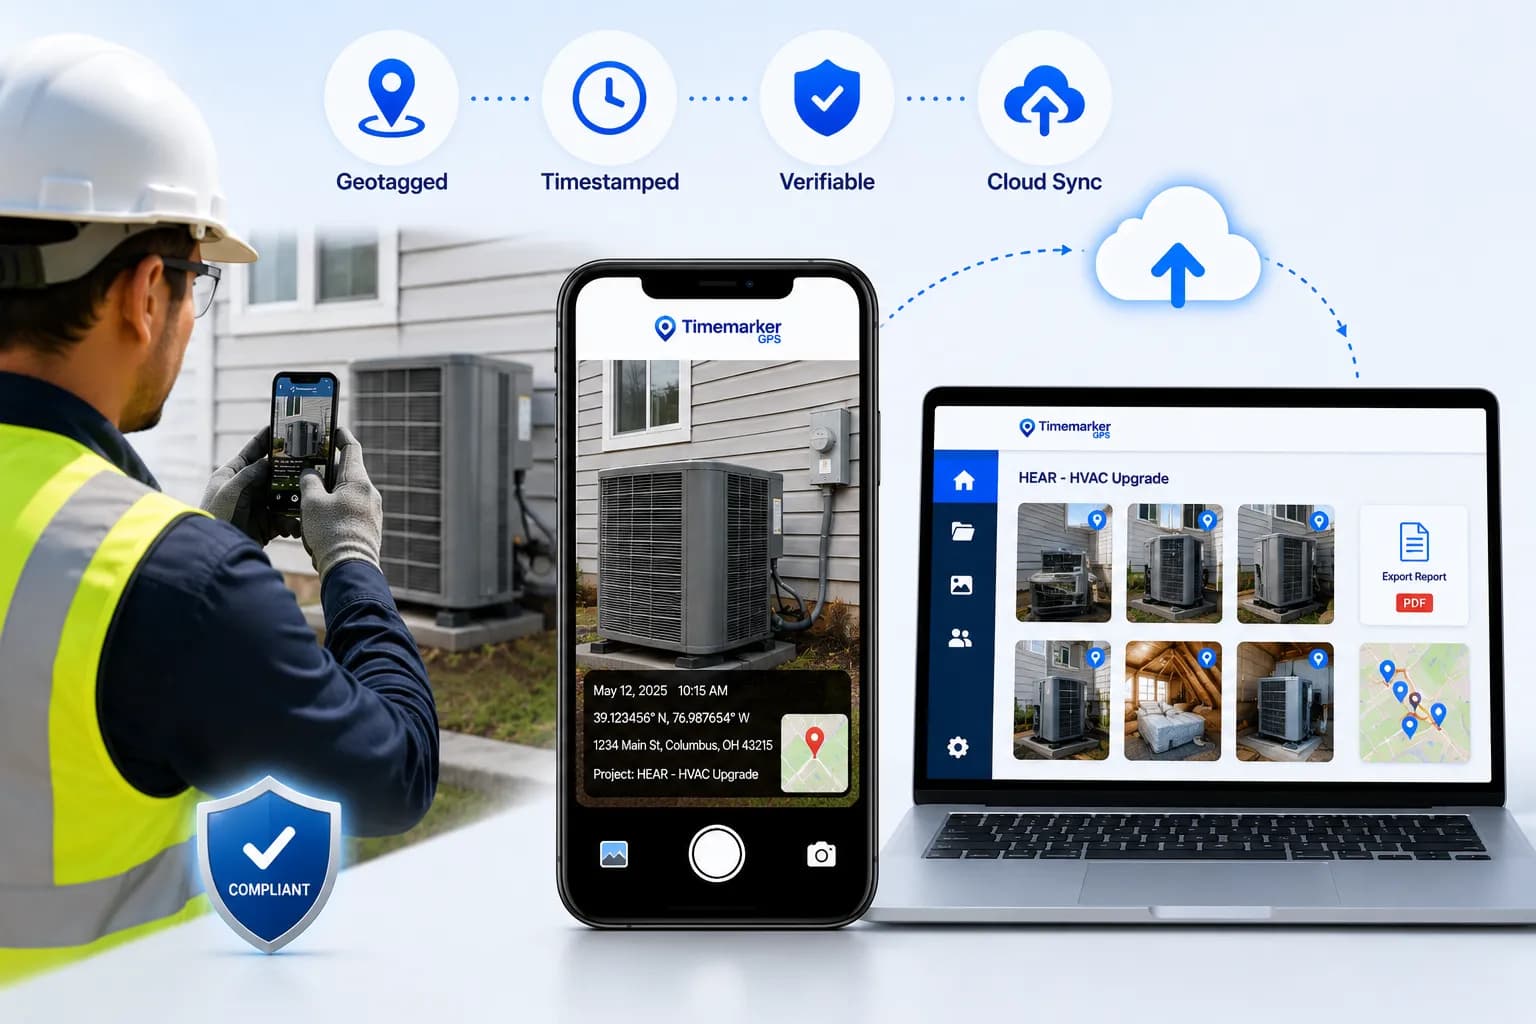
TimeMarkerGps can help a field team organize project photos with recorded time, device location, notes, and team context. It also supports project views, sharing, reports, and a photo-code verification workflow for supported captures.
TimeMarkerGps is not presented here as a DOE-approved submission tool. HEAR compliance and submission acceptance remain decisions for the applicable program administrator. Before relying on it for a rebate project, ask the program implementer whether the capture method, metadata, file format, reports, and transfer process meet that program’s requirements. PNNL also provides its own open-source Quality Install Tool for Home Energy Rebates workflows.
Final checklist
- Use the latest state or territorial instructions.
- Confirm required pre- and post-installation views.
- Test location settings and file transfer before field deployment.
- Capture only necessary household information.
- Preserve original files and project records.
- Review every submission against the program checklist.
- Ask the implementer how corrections should be handled.
For TimeMarkerGps product details, review the GPS camera workflow and photo verification documentation. Then validate the proposed process with the program administrator before using it on a live rebate project.